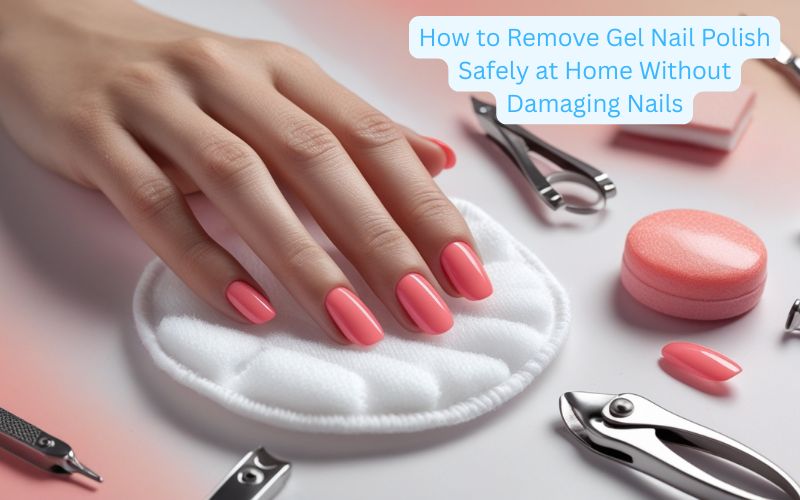
Gel Manicures have become one of the most requested services in the salon due to their chip-free, extended-wear color that can last for weeks. But, when the time comes for it to go, taking off gel nail polish at home can be a little challenging for some. Improper remove gel nail polish is the number one reason for damage, peeling, and weakened nails.
What’s the number one mistake people make? Peeling and picking off their gel polish. Though it may feel good at the time, this practice peels away layers of your natural nail plate, making them thin and brittle. Nail professionals will always advise the smallest and gentlest soaking-off way to preserve the nail.
In this ultimate guide, here’s what we’ll cover:
- The best and safest ways to remove gel nail polish
- Step-by-step how-to for the foil method (the best at-home method)
- Acetone-free options for delicate nails
- Standard slip-ups that ruin nails
- Much-needed aftercare to strengthen your nails
Whether you’ve just recently indulged in your first or you handled the color like a seasoned pro, these expert tips will help ensure you can remove gel nail polish without ever leaving your house or your wallet empty. Now, we’ll get into the right ways to keep your nails long and beautiful.
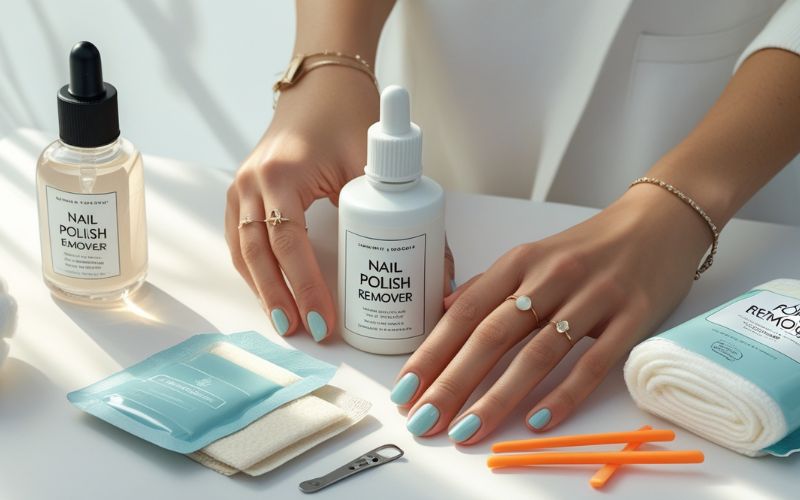
Supplies Needed for Safe Gel Polish Removal
Gel nails have become all the rage for their long-lasting, chip-free shine that can last weeks. But when it comes time for a new coat, a lot of people battle with how to get gel nail polish off right. Incorrect removal is one of the most common culprits for nails that are damaged, peeling, and weak.
What is the most common _mistake people make? Picking or peeling off their gel polish. It feels good but in an “I’m picking off the layers of my nails” kind of way because that’s exactly what you’re doing: peeling off layers of your natural nail plate and thinning out your nails. We professional nail technicians all know that soaking off in gentleness is the key to nail health.
In this ultimate guide, we’ll take you through:
- The best and safest ways to remove gel nail polish
- Step-by-step foil method directions (best at-home method)
- Inflammation, AntibioticSensitive Nails, Touchy Nail AcetoneFree options
- Nail sins – the most common mistakes that wreck your nails
- Important aftercare to help keep your nails strong
Whether or not you’re a professional at using gel polish or a first-timer, you can safely remove gel polish without going to a salon with the help of these professional tips. Let’s take a closer look at the right way to maintain healthy, beautiful nails.
Step-by-Step: How to Remove Gel Nail Polish with the Foil Method
Foil is known as the best and most popular at-home way to take off gel. It gives an air-tight seal so the acetone can do its job without drying out too fast. Here’s how to do it right:
Step 1: Prep Your Nails
Begin by removing any nail jewelry and washing your hands. File the shiny top coat layer off your gel polish using a nail file. This is an important step due to the sealing of the topcoat , which doesn’t allow the acetone to seep through. Only two or three light rubs with the file – it’s not the idea to strip all of the color only to break the seal.
Step 2: Prepare the Acetone Wraps
Cut the cotton pads into several small pieces (approximately 1″X1″). Soak each piece well with some acetone; it should be wet but not dripping. Put a soaked cotton square directly on each nail. Cover each fingertip with cotton packing, then immediately encased in a small piece of aluminum foil (approx 3″ x 3″) wrapped very tightly to hold the cotton in place and stop evaporation.
Step 3: Wait Patiently
This is the point where most people get impatient, but a good gel polish removal is all about playing the long game. Leave the wraps on for:
- 10-15″ for normal gel polish
- For use with thicker and builder gels, up to 20 minutes
You can also submerge your wrapped hands in warm water to expedite the process. The heat allows the acetone to do its job more efficiently.
Step 4: Check and Remove Polish
After the incubation, take off the foil and check if it is OK. The polish should appear wrinkled or melted. Take your cuticle pusher at a 45-degree angle and gently scrape away the softened gel. If it doesn’t peel away easily, rewrap and steam for an additional 5 minutes.
Step 5: Clean Up and Moisturize
This is the part where most people get impatient, but removing gel polish properly will take some time. Leave the wraps on for:
- 10-15 seconds for normal gel polish
- Depending on thickness, or if you’re using a builder gel, you may have to soak your nails for up to 20 minutes.
After you are finished taking off all of the polish, wash your hands with soap and water to get all of the acetone off. Apply a lot of cuticle oil and massage with a heavy hand cream. When you’re dealing with a substance as drying as acetone, this step is imperative, as your nails will be thirsty afterward.
Pro Tip: After removing dark, staining colors, buff stained nails with a whitening toothpaste or a paste made of baking soda to brighten.
Alternative Removal Methods for Sensitive Nails
Acetone is the best gel polish remover available, but some people find it to be too harsh. Here are some gentler practices:
1. Non-Acetone Remover Method
If you have sensitive skin or nails:
- Go for an acetone-free remover that contains ethyl acetate or methyl acetate
- Follow the same foil method
- Please Note (longer soak times - 20-30 minutes)
- It might need to be scraped more gently
Best for: Those with thin, damaged, or sensitive nails
2. The Warm Water Soak Method
An acetone-free way to do it:
- File the top coat as usual
- How to do: Take a little warm, soapy water and soak the nails in it for at least 20 minutes.
- CAREFULLY stir the edges with a wooden stick to separate them from the pan.
- Repeat as needed
Best for: Casual gel users with thin (1-2 layers only) coats.
3. Professional Removal at a Salon
If you are concerned about at-home removal:
Most nail techs help minimize damage by using test-tube-shaped containers or jars that you slide your finger into so that only the tip is exposed, but the process goes on for a long time, and the Dremel-type machines they use are not only very hot but remarkably rough.
They end with controlled coverage and acetone.
Perfect for hard gels or acrylic overlays
Cost: Typically
5-15 and a fresh mani you’re not DIY-inclined:
Nail techs remove most of the product safely, using specialized electric files at low speeds you’re nervous about DIY:
- Most of the product is removed with specialized electric files at a low RPM, nail techs.toast.net.
- They are finished with controlled acetone.
- Great for harder gels or acrylic overlays
Cost: Typically
5−15 and a new manicure
- They’re finished with controlled acetone.
- Ideal for hard gels or acrylic overlays
Cost: Typically
5−15 and a new manicure
Common Gel Polish Removal Mistakes That Damage Nails
Even when using the right tools, people tend to commit these mistakes that are harmful to nails:
- Peeling or Picking at Polish
Let’s rip off some layers of natural nail plate so you will experience thinning and peeling. Why it’s bad: It rips off layers of your natural nail plate, causing thinning and peeling.
- Using Dull or Improper Tools
Removing it requires extra pressure, which can harm the nail’s surface. This often leads to peeling or thinning over time if not done carefully.
- Rushing the Process
Why it’s the worst: Leaving nails only partially moderated can lead to serious damage. This incomplete care often results in over-filing and unnecessary scraping. Not only does it weaken the nail structure, but it can also cause long-term brittleness and breakage.
- Skipping the Top Coat Filing
Why it’s bad: Acetone isn’t able to penetrate, so removal is more difficult.
- Neglecting Aftercare
Why it’s terrible: This dries out the nails and makes them break.
Essential Aftercare for Healthy Nails Post-Removal
Gel Nails Removal Aftercare The aftercare of a gel nail removal treatment is just as important as the process itself. Here’s how to rehab your nails:
Intensive Moisturizing
- Once again, use your cuticle oil 3-4 times a day for the first 48 hours
- Apply a rich hand cream before bed
- Think about overnight moisture gloves
Nail Strengthening
- Use a keratin treatment or nail hardener.
- Don’t use water for 2 hours after removal
- If nails are weak, one may take biotin supplements.
Temporary Protection
- Wear gloves while doing housework
- avoid rough chemicals
- Don’t use nails as tools
When to Polish Again
- You don’t want to polish your nails for at least 24- 48 hours so they can heal.
Conclusion: Mastering Safe Gel Polish Removal
Knowing how to take off gel nail polish at home correctly can have a significant impact on having healthy, strong nails. The process takes a bit of patience, and you will need some other materials, but it’s better than the alternative which is having to deal with damaged, peeling nails after improperly removing them.
Key takeaways:
- The top coat should be gently filed away; always begin with this
- For best results, use pure acetone and the foil method
- Give it plenty of time to soak(try not to let it soak up for at least 10-15 minutes.
- Do not ever pick or peel off gel polish
- Then, follow with a powerful moisturizer.
FAQ:
With acetone: 10-15 minutes. Without acetone: 20-30 minutes. Thicker gels may take longer.
Yes, but it takes significantly longer. Use an acetone-free remover or the warm water method.
Absolutely! This removes layers of your natural nail, causing thinning and peeling over time.
Common reasons: didn’t file top coat enough, acetone wasn’t pure, didn’t soak long enough, or used expired polish.
They often use an e-file to remove most of the product first, then finish with acetone for minimal soaking time.
Not effectively. You need at least 90% acetone content for proper gel removal.
Mahnoor Ijaz is an SEO Expert with 2 years of hands-on experience in Blogging, Social Media Marketing, and Local SEO. She combines technical SEO skills with creative content strategies to boost online visibility and engagement.